Shortly after publishing this guide to install Plexamp to a MacOS device, I decided to try out the iPad version of the app on my MacBook Pro laptop. Plexamp for iPad actually has a much better user interface, and is much easier to install. It also seems to work just fine.
Even though this guide will show you how to install the official MacOS version of Plexamp, I’d suggest that you consider the iPad version as well. Plexamp for iPad is available in the App Store.
Now, on to the guide:
Headless Plexamp is what I use daily and, as a tinkerer, I don’t mind the more hands-on maintenance approach that is inherent with that particular set up. I’ve written extensively on how to install Headless Plexamp on a Raspberry Pi, as well as many guides to the advanced steps that might follow the intial set up.
Those follow-up guides include things like:
- How to SSH into the Raspberry Pi to add or update new software
- Making sure Plexamp will launch automatically each time you power on your Raspberry Pi
- Keeping your Headless Plexamp install up to date to take advantage of bug fixes and new features
- Adding a DAC and setting it as the default output for the Raspberry Pi
The benefit of all that effort is that I have a dedicated streaming endpoint for the content on my headless Plex server.
Maybe you don’t need all that fuss. Maybe you just need a nice, clean, music focused user interface on your desktop to stream music from your Plex music server. If that’s the case, installing Plexamp on your desktop is as simple as can possibly be.
Any version of Plexamp can be an endpoint for your Plex server, and can be controlled through Plex or another Plexamp install. That means that if you have Plexamp installed on your mobile device, as well as on your desktop device, you’ll be able to control one with the other.
This guide assumes you have a Plex account and a Plex server running. A Plex account will be required to login to Plexamp, and a Plex server will be required to store and serve your local media files to Plexamp. The free versions of Plex and Plexamp will be enough to get you started, so there’s no cost to trying this particular audio streaming stack.
As a pre-requisite, you can find a guide to install Plex Media Server for Mac OS here
How to install Plexamp for your Apple MacOS computer

This guide assumes you are using a Mac OS computer, and that you have a Plex account, which will be required to login to Plexamp. The free versions of Plex and Plexamp should be enough to get you started.
Project Cost: $0 – $0
Total Time: 5 Min.
Tools and Supplies
Here is a list of tools and equipment that you should have on hand before you begin this project:
Tools
-
A Plex Account
If you don’t already have a Plex account, you can sign up for one at the Plex.tv website and click the Sign Up button, then follow the prompts to create your Plex account.
-
A Plex Media Server
If you don’t already have a Plex media server running, you should take a break here and read our guide to install Plex Media Server for Mac OS.
Supplies
-
A Mac OS computer
This guide is specifically about installing Plexamp for your Mac OS computer. You’ll need to be using Mac OS 10.11 or newer (64-bit only) to install and use Plexamp.
-
Download Plexamp for Mac OS
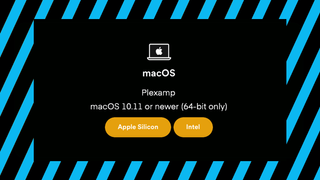
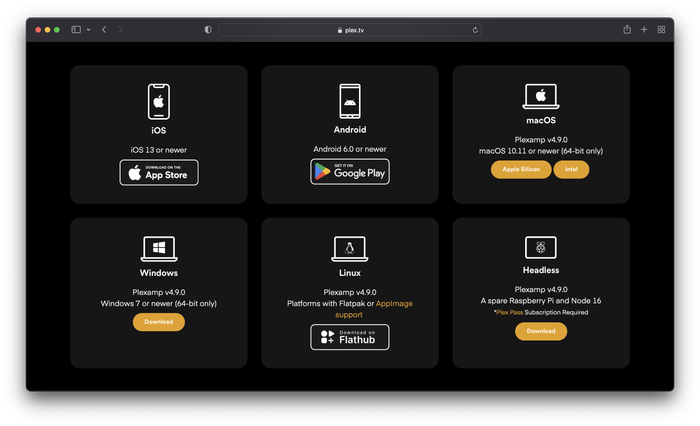
Navigate to the Plexamp downloads page at the Plex website and find the macOS version of Plexamp. Download the correct version for your device chip version.
- If you have a Mac M1,M2,or M3, you’ll want to download the Apple Silicon version
- If you have an Intel chip, you’ll want to download the Intel version
Download Plexamp for Mac OS -
Add Plexamp to your Application folder
Once downloaded, double click the Plexamp .dmg file. You should be prompted with a new window to easily drag Plexamp into your Applications folder.

Add Plexamp to your Application folder -
Launch Plexamp
Now go to your Applications folder (or open Launchpad) and find the Plexamp application. Click the application icon to launch Plexamp for the first time.
NOTE: you might see a warning that says Plexamp is an app downloaded from the Internet. Are you sure you want to open it? Go ahead and click the Open button
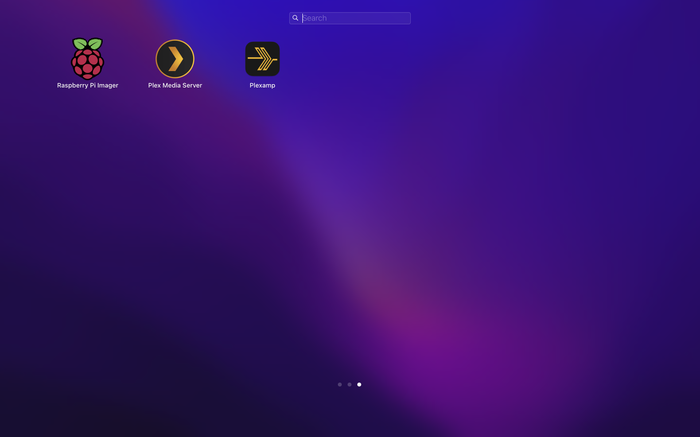
Launch Plexamp -
Continue setting up Plexamp
Plexamp will launch and you can just click the Continue button to get started with connecting to your Plex account.
You’ll need to sign in to your Plex account and select your server.
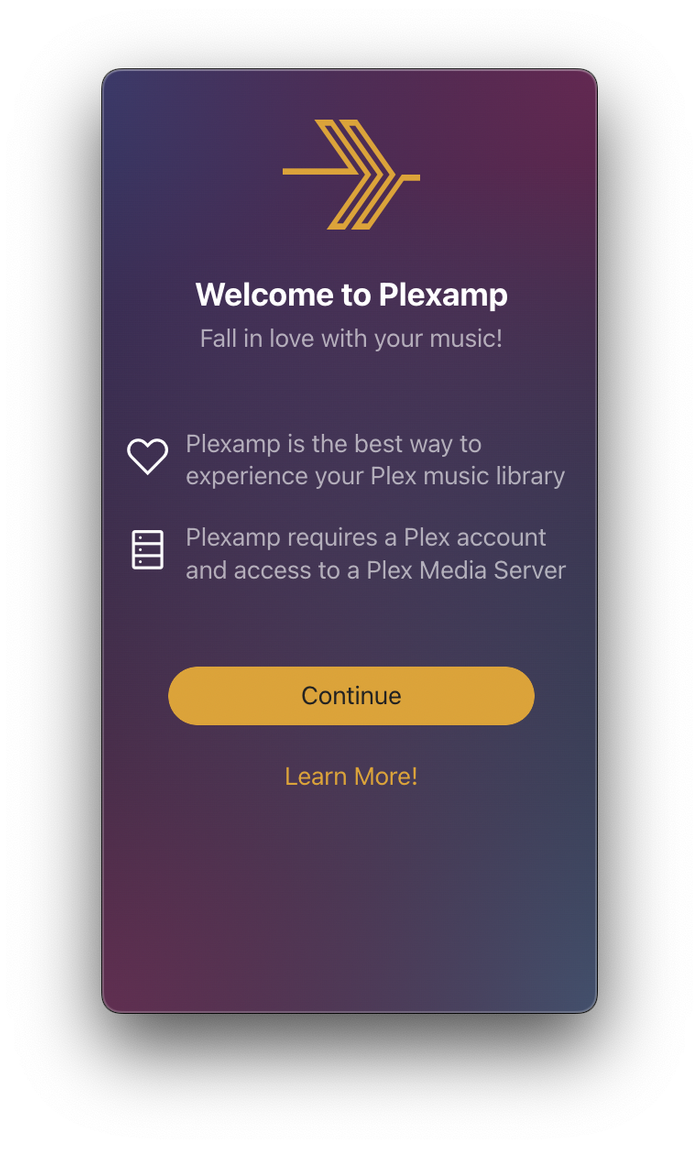
Continue setting up Plexamp -
Select your Plexamp output device
Now you should see your Apple Mac computer available as a Plexamp endpoint on your other devices, and your other devices will see the Apple Mac computer as an endpoint as well!
A couple caveats to keeo in mind here:
- Only the devices with the Plexamp app open will be avaiable as a Plexamp endpoint. If you close Plexamp on your computer, it will not longer be shown as a device to cast from your iPhone’s Plexamp (as an example)
- If you a re casting from your Apple Mac computer to another device, you will not be able to cast back to the Apple Mac computer until you disconnect the Apple Mac computer from the device it’s controlling.
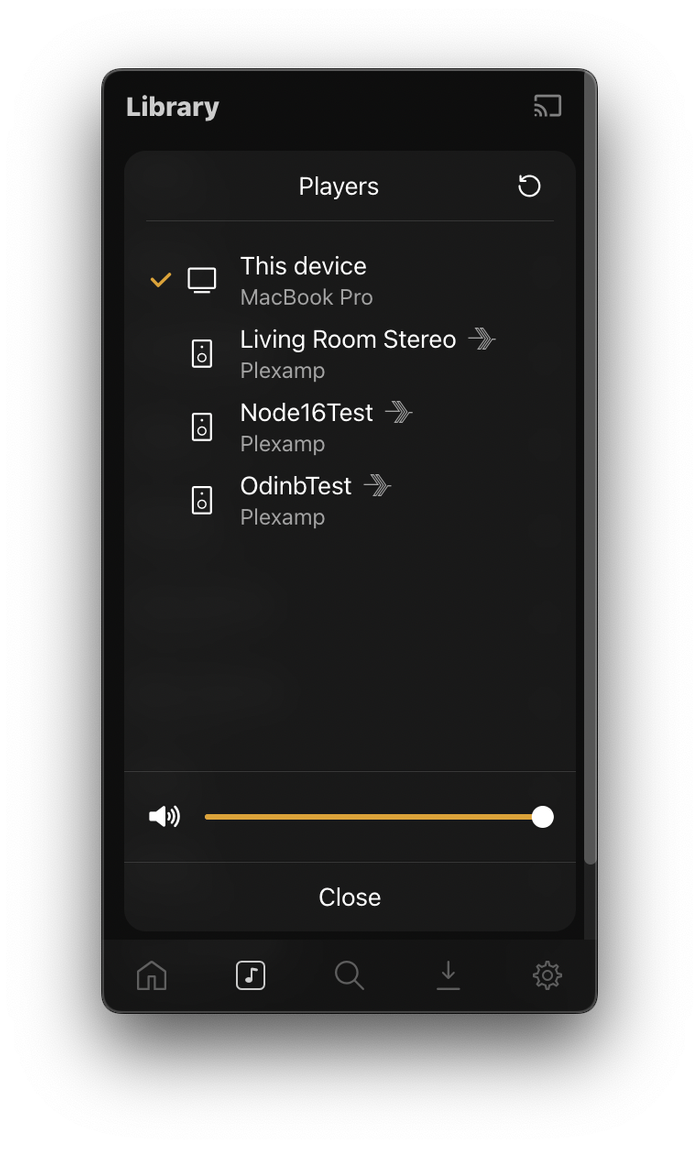
Select your Plexamp output device