One of the challenges with using a Headless Operating System with your Raspberry Pi is not knowing where or how to install and update software. This post will walk you through the process of accessing your Raspberry Pi files and directories using SSH or Secure Shell.
This is part of the process I use to set up a Headless Raspberry Pi Plex Server, install and configure a headless Plexamp streamer to stream my digital media library to various endpoints around my home, and various other tasks and configurations.
Knowing how to SSH into your Raspberry Pi is an essential skill to have as you build, expand, and customize your digital streaming network.
You’ll need to use Terminal or a similar Command Line Interface (CLI) to SSH into your Raspberry Pi. It will be helpful if you already have some experience with CLI tools, but these steps should still be simple enough that you can follow along and learn without too much trouble.
How To Log In to your Raspberry Pi with SSH or Secure Shell

Knowing how to access your Raspberry Pi operating system using SSH, or Secure Shell, is essential if you want to use a Headless Operating System like Raspberry Pi OS Lite. This guide will get you started with SSH for your Raspberry Pi using Terminal or another Command Line Interface (CLI).
Project Cost: $0 – $0
Total Time: 5 Min.
Tools and Supplies
Here is a list of tools and equipment that you should have on hand before you begin this project:
Tools
-
Terminal or another CLI tool
Most personal computers come with a Command-line interface (CLI) tool built-in. I typically use the Terminal application built into my Mac, but there are plenty of other options out there.
Supplies
-
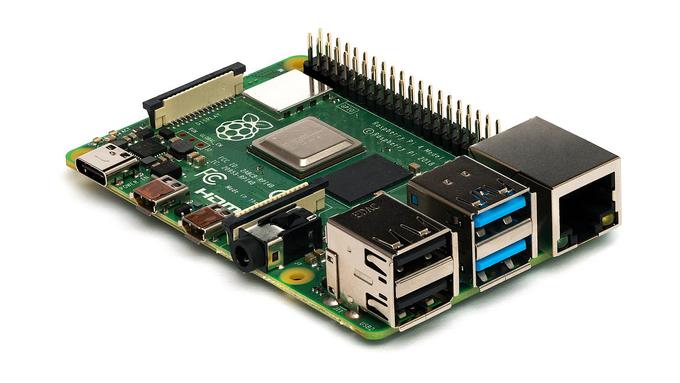
A Raspberry Pi single board computer with an Operating System already installed
This post assumes you already have a Raspberry Pi up and running with an Operating System installed.
If you still need a Raspberry Pi, I would recommend buying a Raspberry Pi 4 Starter Kit from CanaKit. They offer a variety of kits, but each configuration will include everything you’ll need to get started. In writing this tutorial I’m using a Raspberry Pi 4 with 4GB of RAM. If you haven’t installed an operating system you should refer to our Beginner’s Guide to Installing Raspberry Pi OS.
-
A Micro SD card
The Micro SD card should already have your Operating System installed, and should be inserted into your powered-on Raspberry Pi.
-
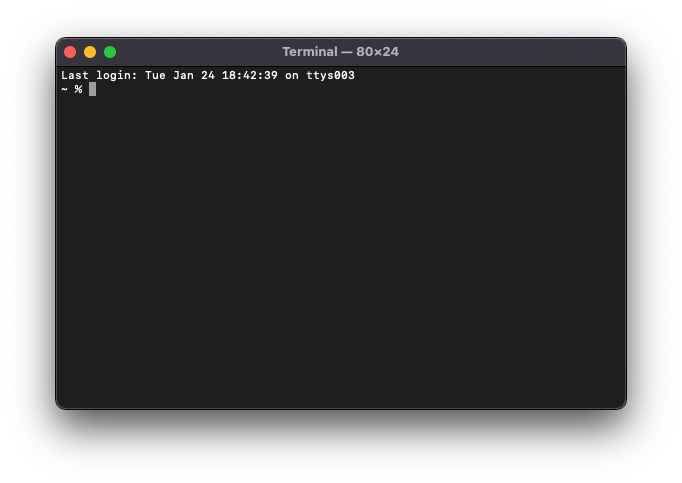
Launch Terminal or another CLI tool
You can use other Command-line interface (CLI) tools for this. I prefer Terminal because it’s built-in to my Mac and is pretty lightweight and distraction free.
Launch Terminal or another CLI tool -
Use SSH to log into your Raspberry Pi
When you installed your Raspberry Pi operating system ( using the Raspberry Pi Imager app, for example ), you will have created a username and a hostname. These are essentially the user and path needed to SSH into your Raspberry Pi.
In Terminal, enter the following command, where username is the SSH username you set up and hostname is the hostname you created in Raspberry Pi Imager.
ssh username@hostname.localThen hit Enter
Use SSH to log into your Raspberry Pi -
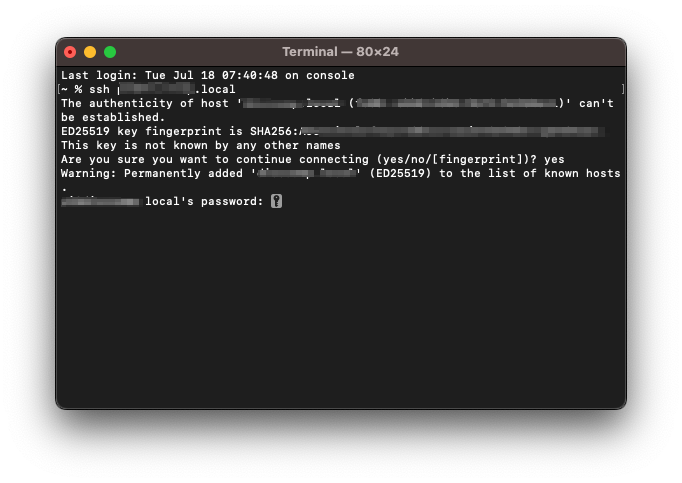
Acknowledge setting up SSH access
If Terminal provides a warning about the authenticity of the host, and asks if you would like to continue, type Yes
YesThen hit Enter
This will add a fingerprint associated to your laptop or desktop computer so that you’ll be able to SSH into the Raspberry Pi from the same device in the future.
Acknowledge setting up SSH access -
Enter your Password
You should now be prompted to enter the password you set up when installing your Raspberry Pi OS.
Enter the password you set up while using Raspberry Pi Imager to install the Operating System to your Raspberry Pi.
Then hit Enter
NOTE: The connection to your Raspberry Pi might close when you hit enter. If that happens just re-connect with the earlier command:
ssh username@hostname.localReplace username with the SSH username you set up, and hostname with the hostname you created in Raspberry Pi Imager.
Enter your Password -
Success!
Congratulations, you just logged into your Raspberry Pi via SSH!
It probably doesn’t look like much, but you can now install new software, update existing software, or just have a look around as you become more familiar with SSH navigation in the next steps toward setting up your Headless Plex Server on a Raspberry Pi!
Read the next guide in this series if you want to use Netatalk to add files directly to your Headless Raspberry Pi