This guide will show you how to enable your Raspberry Pi to become an Airplay endpoint using Shairport Sync. Shairport Sync is an AirPlay audio player for Linux and FreeBSD. It plays audio streamed from Apple devices and from AirPlay sources such as OwnTone.
Even though I prefer streaming from my own music collection (mostly downloaded from the beloved Bandcamp site), there are some services that have music available that I don’t otherwise have access to, and Plex has yet to support Podcasts. So, Airplay to my Raspberry Pi it is.
With Shairport Sync installed I can now use Airplay to stream music from my iPhone using Apple Music, Apple Podcasts, Spotify, YouTube music… pretty much anything that sends audio over Airplay.
I’ve have also paired my Rasberry Pi with a Dac Hat, so the audio quality is pretty good when streaming with Airplay. The only finicky aspect of my set up is that immediately switching from Headless Plexamp on the Raspberry Pi to Airplay is not as smooth as it could be, and the audio levels (volume) can vary a bit widely.
On that note; the trick to switching from Plexamp on the Raspberry Pi to Airplay seems to be to make sure that you’ve stopped streaming Plexamp to the Raspberry Pi before switching to an Airplay stream. If you don’t disconnect from Plexamp, the Airplay stream may not connect.
Aside from that one small quirk, enabling Airplay as an option for my Raspberry Pi has been a breeze and greatly expanded my options beyond a personal music server 🎉
How to Create an Airplay Endpoint with a Raspberry Pi
Follow this guide to enable your Raspberry Pi to become an Airplay endpoint using Shairport Sync. This guide assumes you already have a Raspberry Pi board for your project, as well as access to a command line interface (CLI) tool.
Project Cost: $0 – $0
Total Time: 5 Min.
Tools and Supplies
Here is a list of tools and equipment that you should have on hand before you begin this project:
Tools
-
Terminal or another Command Line Interface tool
You’ll need to use Terminal or a similar Command Line Interface (CLI) to install Shairport Sync to your Raspberry Pi. It will be helpful if you already have some experience with CLIs, but these steps should be simple enough for someone without command line experience to follow.
Supplies
-
A Raspberry Pi
If you don’t have a Raspberry Pi handy, I would recommend buying a Raspberry Pi 4 or 5 Starter Kit from CanaKit.
Canakit offers a variety of kits, but each configuration will include everything you’ll need to get started. In writing this tutorial I’m using a Raspberry Pi 4 with 4GB of RAM.
-
SSH into your Raspberry Pi
With Raspberry Pi OS installed on your Micro-SD card and your Raspberry Pi powered on you’ll want to make sure you can SSH into the Pi.
If you need a refresh on how to SSH into your Raspberry Pi you can visit the guide How To SSH or Secure Shell into your Raspberry Pi
On your computer launch your command-line interface app (Terminal, in my case) and enter the following command, where username is the SSH username and hostname is the hostname you created in Raspberry Pi Imager:
ssh username@hostname.localHit ENTER
-
Update and upgrade your Raspberry Pi
I’m not always great at remembering to do this, but it’s good practice to run the following command to ensure your Raspberry Pi Operating System is up to date:
sudo apt-get update && sudo apt-get upgradeHit ENTER
Sometimes this process can take a few minutes. As long as your Terminal window is still scrolling everything should be working as intended, but watch for prompts where you may need to acknowledge some installations and upgrades.
-
Install Dependencies for Airplay
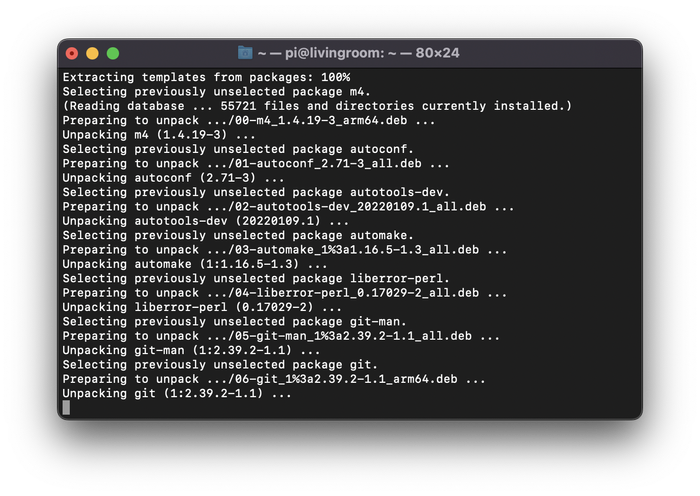
Like most fatures that we add to the Raspberry Pi, we’ll need to install some software that the feature relies on. For this Airplay project, install the needed dependencies by running this command:
sudo apt-get install autoconf automake avahi-daemon build-essential git libasound2-dev libavahi-client-dev libconfig-dev libdaemon-dev libpopt-dev libssl-dev libtool xmltomanHit ENTER
Install Dependencies for Airplay -
Install Shairport Sync
Shairport Sync is a free and open-source utility. It’s available to download from GitHub, but you won’t need a GitHub account to install.
To install Shairport Sync just run this command in your CLI:
git clone https://github.com/mikebrady/shairport-sync.gitHit ENTER
-
Configure Shairport Sync
Now we’ll just need to configure Shairport Sync to work with our existing system. We’ll do this inside of the Shairport Sync directory that we added in the previous step.
To navigate into the Shairport Sync directory, enter this command in your CLI:
cd shairport-syncHit Enter
Now that you are in the Shairport Sync directory, enter these two commands to configure the build:
autoreconf -i -fHit Enter, then:
./configure --with-alsa --with-avahi --with-ssl=openssl --with-systemd --with-metadataHit Enter
-
Build Shairport Sync
Now all we have to do is build using these two simple commands:
makeHit Enter, then
sudo make installHit Enter
-
Start Shairport Sync
Now all we have to do is start Shairport Sync with the following command:
sudo service shairport-sync startHit Enter
If everything is working as intended you should now see your Raspberry Pi available as an Airplay endpoint. The name of the Airplay endpoint will match the name you created during your Raspberry Pi OS installation.
-
Enable Shairport Sync to start automatically
Assuming everything is working as intended and you’re able to send audio to your Raspberry Pi using Airplay, the next thing you might want to do is enable Shairport Sync to start automatically each time you power on your Raspberry Pi.
I’ve written a separate guide for that, which you can find here: How to automatically start Shairport Sync when you power on your Raspberry Pi

Enable Shairport Sync to start automatically