Note: This post assumes you are using Balena Etcher to install software to your Raspberry Pi’s Micro SD card. If you prefer to use Raspberry Pi Imager, you should visit our other post, A Faster way to Install VOLUMIO as an Airplay Endpoint using Raspberry Pi Imager.
Volumio is an open-source audiophile media player for Raspberry Pi and other micro-computers. It’s super easy to install and allows you to stream music from a variety of online resources to a single endpoint. With a premium Volumio account you can also use your iPhone, a Browser on your desktop, or another computer as your Volumio endpoint.
Knowing how to set up your own network streamer is a great way to extend the range of streaming services like Spotify, Qobuz or Tidal. With Volumio you can also stream audio from YouTube Videos, Apple Music, Bandcamp, Soundcloud, Mixcloud, and pretty much any other online streaming source that you might listen to on a Wi-Fi connected, Airplay enabled device.
While it is possible (and relatively simple) to get dangerously close to “genuine” hi-fidelity audio quality using a Raspberry Pi and some additional hardware, this guide will focus on the core concept of creating an Airplay streaming endpoint using a Raspberry Pi and the free version of Volumio.
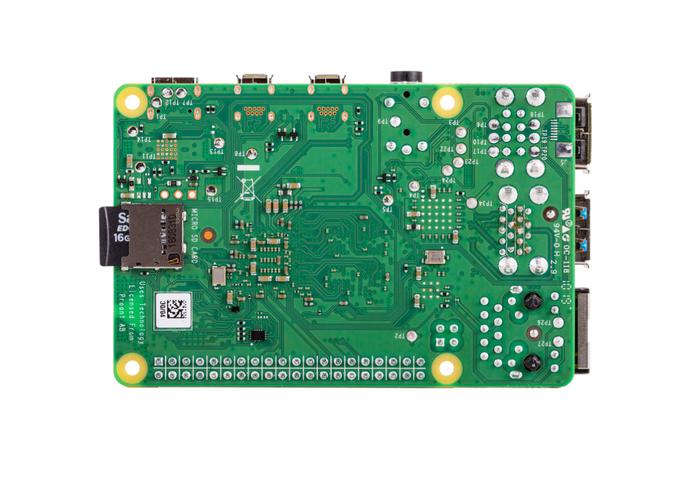
For this project I recommend a Raspberry Pi 3 or Raspberry Pi 4 board, a power supply for the Raspberry Pi, and a Micro SD card. We’ll be setting up the Raspberry Pi as a Wi-Fi enabled streaming endpoint only, so we won’t need any additional screens or keyboards.
The headphone output that is built-in to your Raspberry Pi won’t have the best audio quality, but it works in a pinch and there are plenty of DAC Hat options out there to improve the output. Volumio supports many Raspberry Pi DAC Hats right out of the box.
If this is your first time setting up a Volumio endpoint using a Raspberry Pi, it might take around 20-30 minutes from start to finish. Once you’ve been through the process for the first time it will begin to feel pretty intuitive to set up a few more for different use cases, and you’ll notice that it can actually be done in around 5 minutes.
The Volumio team supports open-source software, so there is a small eco-system of third-party plugins that will allow you to integrate your favorite services into your Volumio streaming. Check out our list of Essential Volumio Plugins and Integrations, including Bandcamp, Mixcloud, Soundcloud, YouTube music and more.
If you have any issues setting up your Raspberry Pi as an Airplay endpoint with Volumio you should refer to the Quick Start Guide at Volumio, or send us a message and we’ll try to help out.
Create an Airplay streaming endpoint with a Raspberry Pi and Volumio
Install Volumio to create an Airplay enabled network streamer using Volumio and a Raspberry Pi microcomputer. Stream Tidal, Spotify, Apple Music, Qobuz and more.
Project Cost: $85 – $150
Total Time: 25 Min.
Tools and Supplies
Here is a list of tools and equipment that you should have on hand before you begin this project:
Tools
-
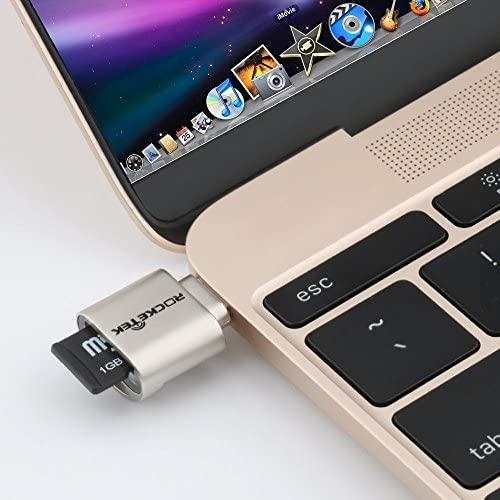
A USB Card Reader
A USB Card Reader to mount the Micro SD card to your laptop or desktop computer. If you elect to purchase a Raspberry Pi 4 Starter Kit, make sure you pick one that includes a USB Card Reader.
Supplies
-
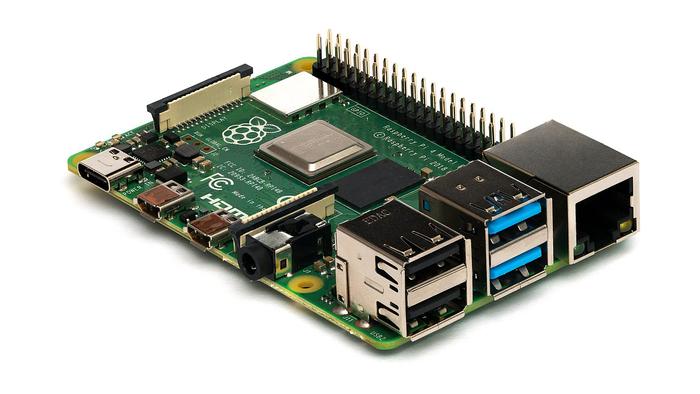
A Raspberry Pi 4
You can use an earlier model, but for this tutorial I am using a Pi 4 with the included power supply.
I would recommend buying a Raspberry Pi 4 Starter Kit from CanaKit. They offer a variety of kits, but each configuration will include everything you’ll need to get started.
The suggested hardware (according to Volumio) is a Raspberry Pi 4, with 2GB of RAM (4–8GB might be overkill). Pi Zero is not suggested as Volumio works but might be slow or unresponsive.
-
A Micro SD card
A Micro SD card with a minimum of 4 to 8 GB storage space. If you elect to purchase a Raspberry Pi 4 Starter Kit, make sure you pick one that includes a Micro SD card.
-
Download and Install Balena Etcher
Balena etcher is free and open-source software that allows you to flash an operating system to a Micro SD card. We’ll use this to add Volumio’s operating system to our Micro SD card.
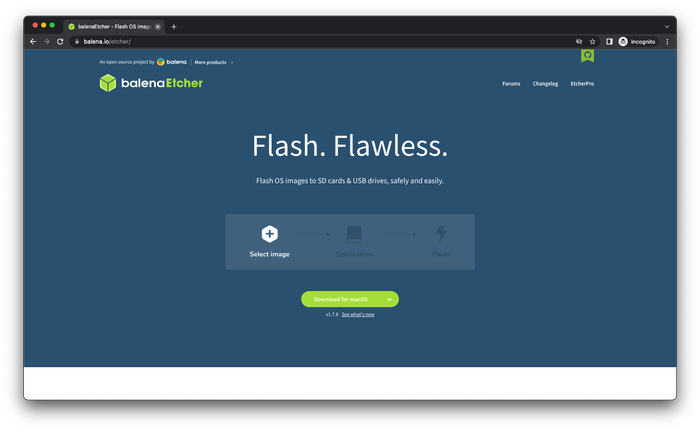
Download and Install Balena Etcher -
Download the latest version of Volumio OS for Raspberry Pi
Download the latest version of Volumio OS for Raspberry Pi. This typically takes a few miutes to download.
Once the Volumio OS .zip file has downloaded, Save it to your desktop or someplace where you will be able to find it easily. We’ll use Balena Etcher to install Volumio OS to our Micro SD card.
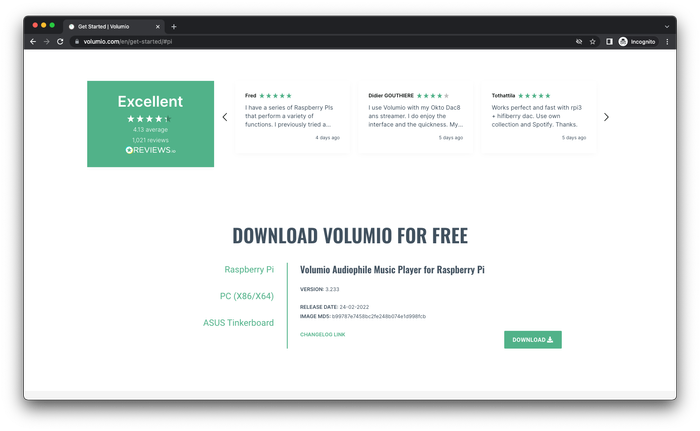
Download the latest version of Volumio OS for Raspberry Pi -
Mount your Micro SD card to your computer
You will need a USB card reader to mount the Micro SD card to your computer. There are plenty of USB card reader options out there to help you do this.
If you purchased a Raspberry Pi 4 Starter from Canakit, it probably included one of these. If not, you can get one at any office supply or electronics store.
Mount your Micro SD card to your computer -
Launch the Balena Etcher application
In the Balena Etcher UI, click the button labeled Flash from file. A file browser or finder will launch. Navigate to the Volumio OS .zip file that you downloaded in the previous step.

Launch the Balena Etcher application -
In Balena Etcher, click the button labeled Select Target
A file browser or finder will launch. You should see a list of available targets. If your Micro SD card is new or you never gave it a custom title it will be called something like Generic-SD Card Media.
Make sure you select the correct target, because we’ll be erasing and formatting the Micro SD card before installing Volumio OS.
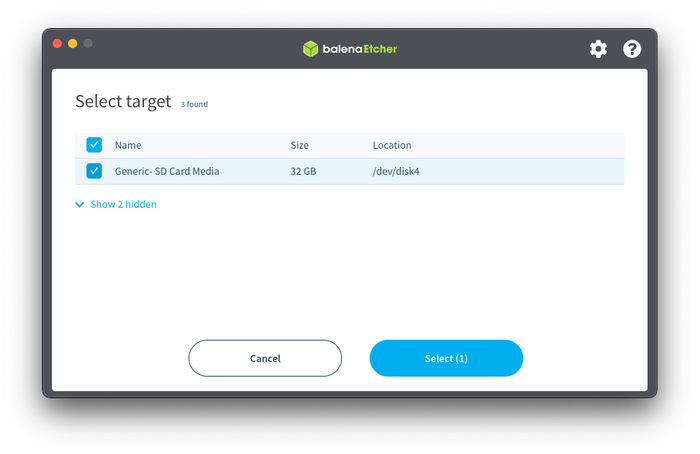
In Balena Etcher, click the button labeled Select Target -
In Balena Etcher, click the button labeled Flash!
In Balena Etcher, click the button labeled Flash! to begin the process of installing Volumio OS on your Micro SD card.
When the installation is finished you will see a success message in Balena Etcher and the Micro SD card will unmount itself.
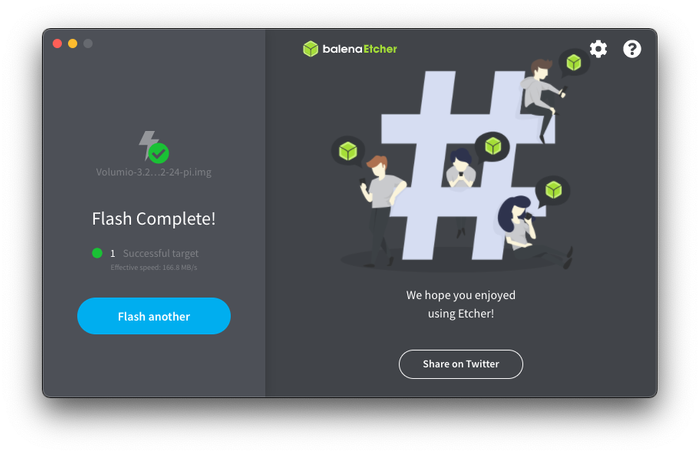
In Balena Etcher, click the button labeled Flash! -
Mount your Volumio OS flashed Micro SD card to your Raspberry Pi 4
Remove the Micro SD card from the USB card reader and mount it directly into your Raspberry Pi. Power your Raspberry Pi using the included power adapter and wait a minute or two for Volumio OS to launch.
We’ll be using the Raspberry Pi as a Wi-Fi enabled streaming endpoint only. It will essentially be a headless set-up, so you don’t need a monitor or screen to observe anything here.
Mount your Volumio OS flashed Micro SD card to your Raspberry Pi 4 -
Join the Volumio Wi-Fi Network
Once the Raspberry Pi has successfully launched you’ll see a new Wi-Fi network available for you to join. The easiest way to finish setting up your Volumio Airplay streaming endpoint is to simply join the Volumio Wi-Fi network, which will automatically launch an interface for Volumio.
Look for a wireless network called Volumio-0DH87 (Those last 5 digits will be different for you, but you get the idea)
Note: If the new Volumio Wi-Fi network requires a password, try Volumio2
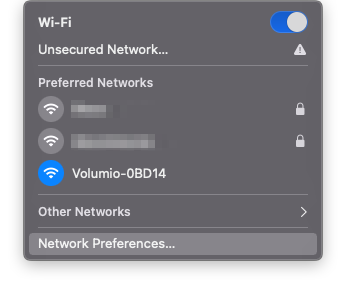
Join the Volumio Wi-Fi Network -
Set up your Volumio account in the Volumio OS interface
Work through the steps to set up your Volumio account. It’s all pretty straightforward and any steps that you don’t feel like doing right now can be skipped. You can make changes later in the Volumio UI.
- Select a language
- Give your device a name
- Select your output (optional; select Headphones, HDMI, or DAC Hat)
- Connect to your local wireless network
If you have a DAC for your Raspberry Pi 4 you can select a driver for it, but you can set this up later as well.
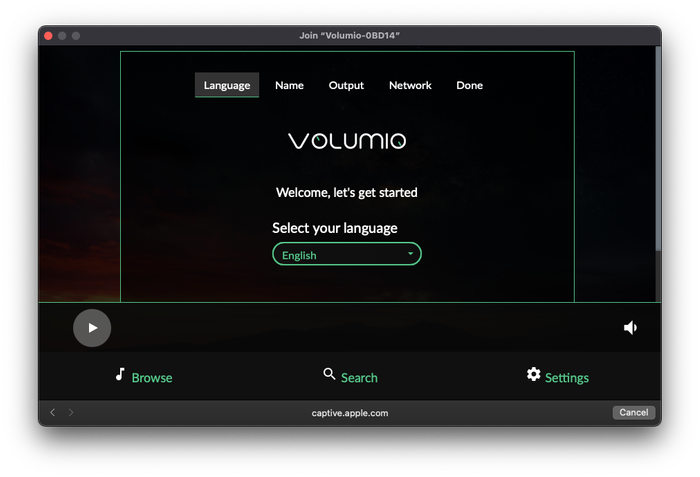
Set up your Volumio account in the Volumio OS interface -
Connect your Airplay device to Volumio and start streaming
Now you should see your new Volumio endpoint available as an option for your Airplay enabled devices. I’ve named my Raspberry Pi with Volumio endpoint VolumioHi-Fi , so that’s what I connect to.
Start streaming from Tidal, Spotify, YouTube or any other media service that you use to listen to music. The audio will now be delivered to your Raspberry Pi Volumio endpoint, which you can connect to your stereo or amplifier.
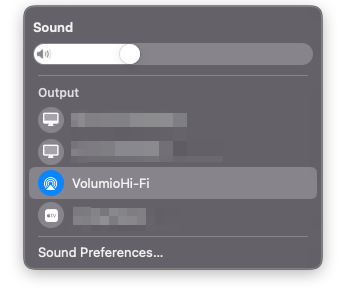
Connect your Airplay device to Volumio and start streaming -
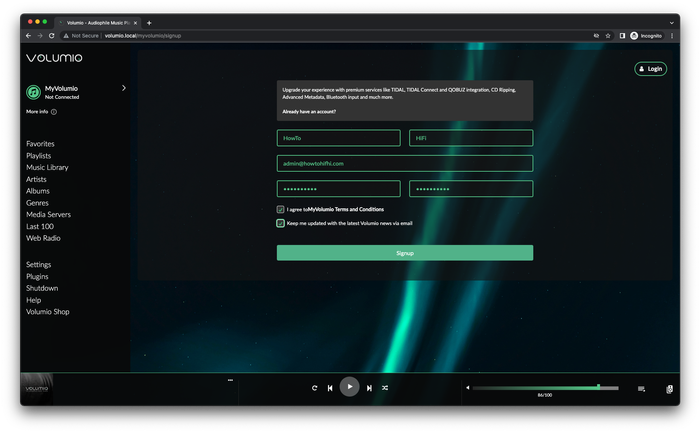
Connect to the Volumio user interface in your web browser
Now that Volumio is installed and available as an Airplay streaming endpoint, you may want to change some settings or add some music.
To access the Volumio user interface just open a web browser and navigate to http://volumio.local
NOTE: if you named your Volumio Airplay endpoint something other than Volumio, you’ll need to update that address.
For example, if you named your Volumio endpoint RaspberryVolumio, then you would navigate to http://RaspberryVolumio.local
Connect to the Volumio user interface in your web browser