Selecting and installing a Raspberry Pi operating system is something that you’ll almost always need to do first thing when setting up a new Raspberry Pi project.
This guide will take you through the steps to install the official Raspberry Pi Imager software, which will simplify the process of installing the Raspberry Pi operating system of your choice very quickly and easily.
Shortcut: If you want to watch the official tutorial (or just get a sneak peek of what’s ahead in this post) you can also watch the 45-second video here:
With Raspberry Pi Imager you’ll have a variety of built-in Operating Systems to choose from for your Raspberry Pi project. I like to use a headless Raspberry Pi Plex Server set-up, so I’ll be working toward building that with this post.
This is part of a series of tutorials for our Complete Guide to creating a Headless Plex Server with Plexamp endpoints using a Raspberry Pi.
A Beginners Guide to Installing Raspberry Pi OS Lite
Use this guide to install a Raspberry Pi Operating System to your Raspberry Pi using Raspberry Pi Imager
Project Cost: $0 – $0
Total Time: 10 Min.
Tools and Supplies
Here is a list of tools and equipment that you should have on hand before you begin this project:
Tools
-
A USB Card Reader
This will be used to mount the Micro SD card to your laptop or desktop computer.
If you elect to purchase a Raspberry Pi 4 Starter Kit, make sure you pick one that includes a Micro SD USB Card Reader. This will be a handy tool for future Raspberry Pi projects as it allows you to install software and add files to your Micro SD card.
Supplies
-
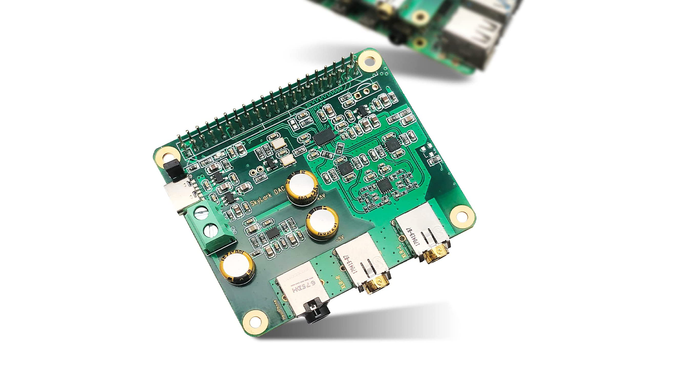
A Raspberry Pi computer board
I would recommend buying a Raspberry Pi 4 Starter Kit from CanaKit. They offer a variety of kits, but most configurations will include everything you’ll need to get started. I would recommend getting a Raspberry Pi with at least 4GB of RAM.
You can use an earlier model, but for this tutorial I am using a Raspberry Pi 4 and the power supply included with the Raspberry Pi kit.
-
A Micro SD card
A Micro SD card to install your Operating System of choice. I am using a 32GB Micro SD card that was included with a kit from Canakit.
Many Raspberry Pi kits will include a Micro SD card, so if you elect to purchase a Raspberry Pi 4 Starter Kit, make sure you pick one that includes a Micro SD card.
-
Download the official Raspberry Pi imager software
Your Raspberry Pi needs an operating system to work. Raspberry Pi Imager provides a range of built-in options including the officially supported operating system, Raspberry Pi OS (previously called Raspbian)
For the full Headless Plex tutorial we’ll elect to use a Headless, or Lite, version of this same Operating System, but if you’re not following the full Headless Plex guide go ahead and pick whatever is right for your project.
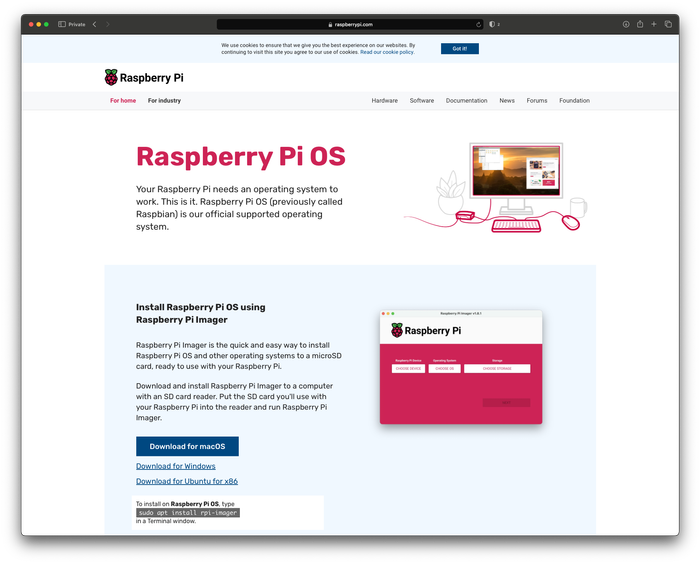
Download the official Raspberry Pi imager software -
Add Raspberry Pi imager to your Applications folder
The Raspberry Pi Imager download will be a .dmg file. Go ahead and double click that file, the drag the icon into your applications folder to install the application.
Imager will come in handy for future Raspberry Pi projects because it allows for quite a bit of up-front configuration using a simple, straight-forward interface.
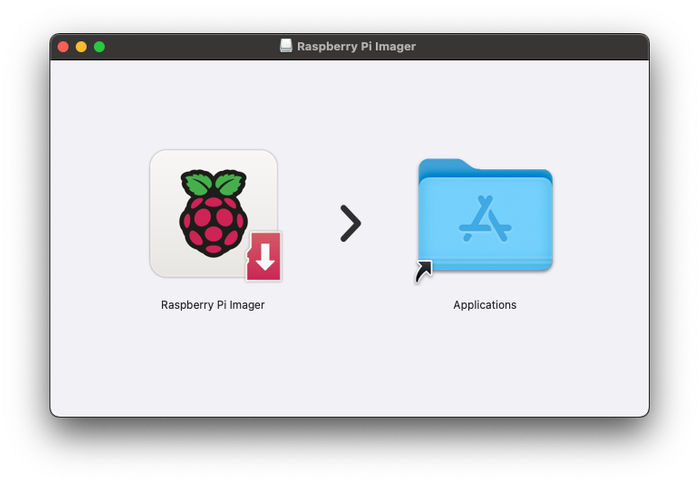
Add Raspberry Pi imager to your Applications folder -
Mount your Micro SD card using your Micro SD card reader
Add the Micro SD card to your Micro SD USB card reader and plug it into your computer.
This should boot automatically, and you should now see a new drive in your Finder or file browser called boot or NO NAME
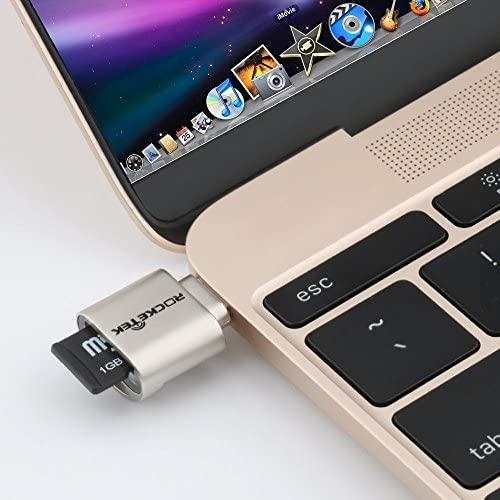
Mount your Micro SD card using your Micro SD card reader -
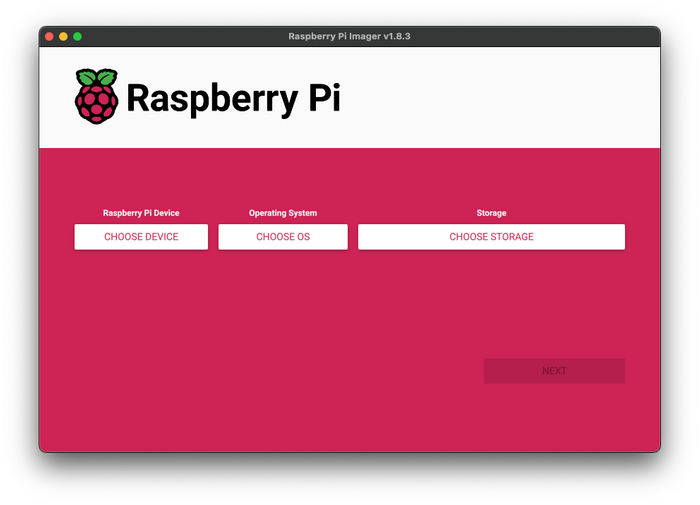
Select your Device
Launch Raspberry Pi Imager from your applications folder and click the button that says Choose Device, then select your device from the menu.
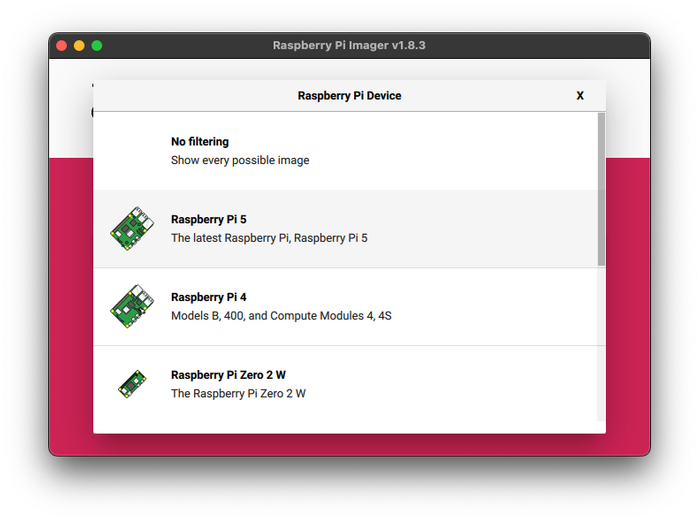
Select your Device -
Select an Operating System for your Raspberry Pi
Now, click the button that says Choose OS, then select the operating system that is needed for your project.
For a Headless project, I usually select the option that says Raspberry Pi OS (other), then select the option for Raspberry Pi OS Lite (32-bit) or Raspberry Pi OS Lite (64-bit).
I typically use 64-bit for my Raspberry Pi 4 or Raspberry Pi 5, fwiw.
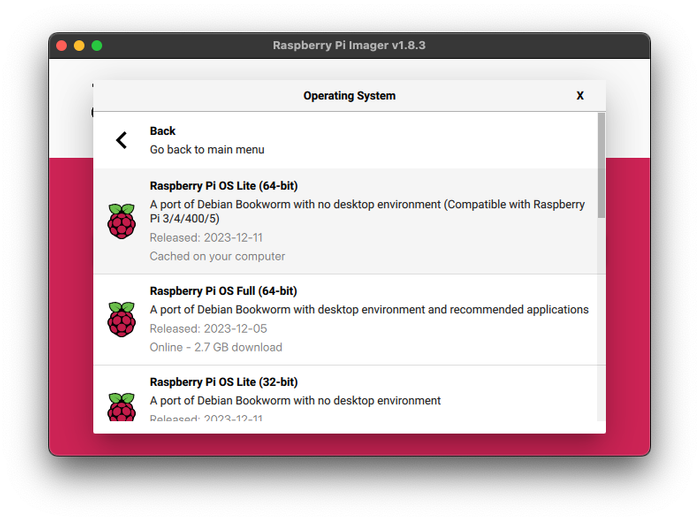
Select an Operating System for your Raspberry Pi -
Select the Micro SD card as your OS destination drive
Back in the main Raspberry Pi Imager menu, click the button that says Choose Storage
You’ll want to select your Micro SD card from the menu. If more than one option appears, look for something called Generic- SD Card Media

Select the Micro SD card as your OS destination drive -
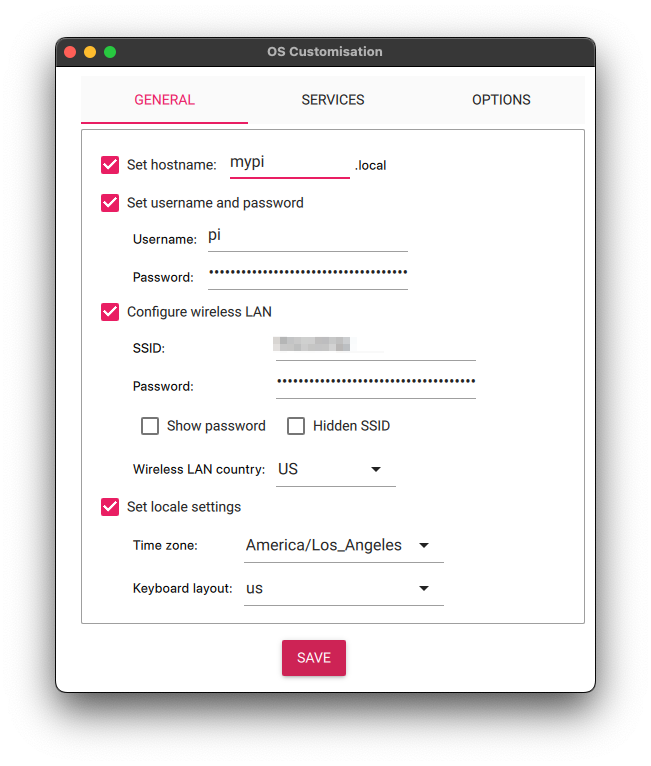
Pre-configure your Raspberry Pi OS Lite settings
Click the NEXT button, then click the EDIT SETTINGS button to pre-configure your Raspberry Pi OS installation.
Pre-configuring your Raspberry Pi OS settings will simplify accessing your wireless network on the Raspberry Pi and allowing access to the Raspberry Pi using SSH in the future.
You should write down some of these settings for future reference.
I recommend the following options under the GENERAL tab:
- Set hostname: (this will be used to ssh into the Raspberry Pi later, so you should write this down somewhere)
- Set Username and Password: You should also write the Username and Password down so that you’ll remember them later
- Configure wireless LAN: SSID is your WiFi network name, and Password is the password you use to access your WiFi network. Setting this up now will simplify your life later
- Wireless LAN country: Use the dropdown to pick the country code where you’ll be using the Raspberry Pi
- Set Locale listings: Again, use the dropdown to select the timezone where you’ll be using the Raspberry Pi
I recommend the following options under the SERVICES tab:
- Enable SSH → Use password authentication: You can use public-key authentication if you want, but for this tutorial we’re keeping things simple with Password authentication
Then click SAVE and when prompted click YES to apply the OS customisations.
Pre-configure your Raspberry Pi OS Lite settings -
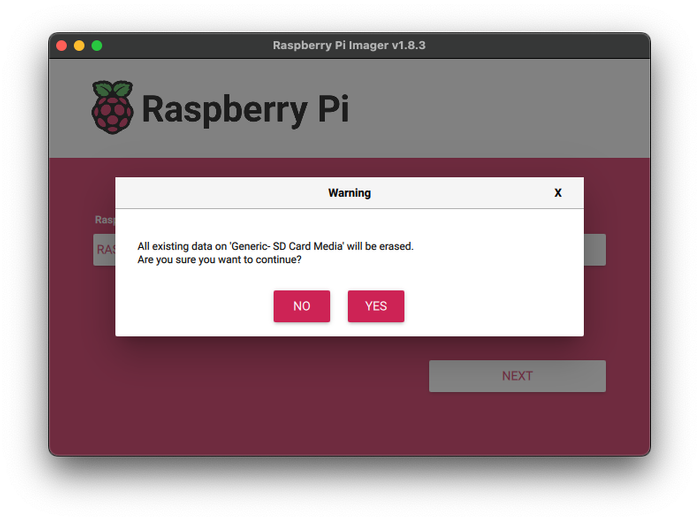
Confirm the OS installation destination
A warning will apprear and ask you to confirm that you want to install Raspberry Pi Imager to the destination. Your Micro SD card will be erased of any pre-existing content. Click YES to continue.
You may need to enter your system password to write to the disk.
Raspberry Pi OS will now write to your Micro SD card. This might take a few minutes, so be patient 🙂
Confirm the OS installation destination -
Insert the Micro SD card to your Raspberry Pi
Once the installation is complete, you can unmount (eject) and remove the Micro SD card from your computer.
Put the Micro SD card into the designated slot on your Raspberry Pi, then power on the Raspberry Pi.
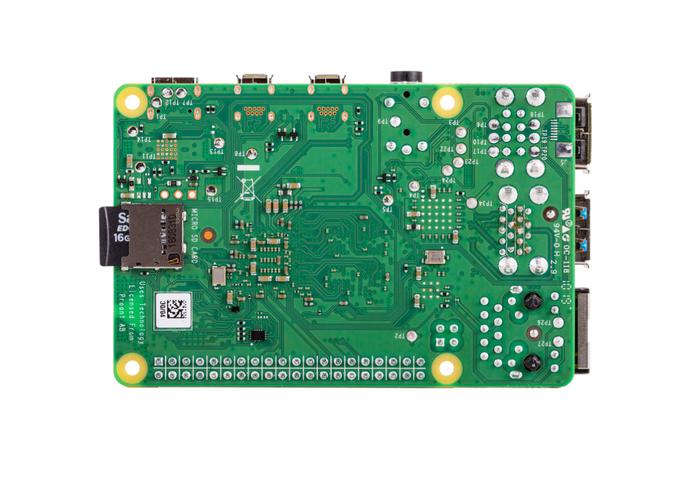
Insert the Micro SD card to your Raspberry Pi -
Learn how to SSH into your Raspberry Pi
Now that you have your Operating System installed and your Raspberry Pi is powered on and running, it will be helpful to know how to SSH into the Pi from another computer.
In fact, knowing how to SSH into your Raspberry Pi will be an essential skill if you’re running a Headless Operating System.
Read our next guide: How To Log In to your Raspberry Pi with SSH or Secure Shell